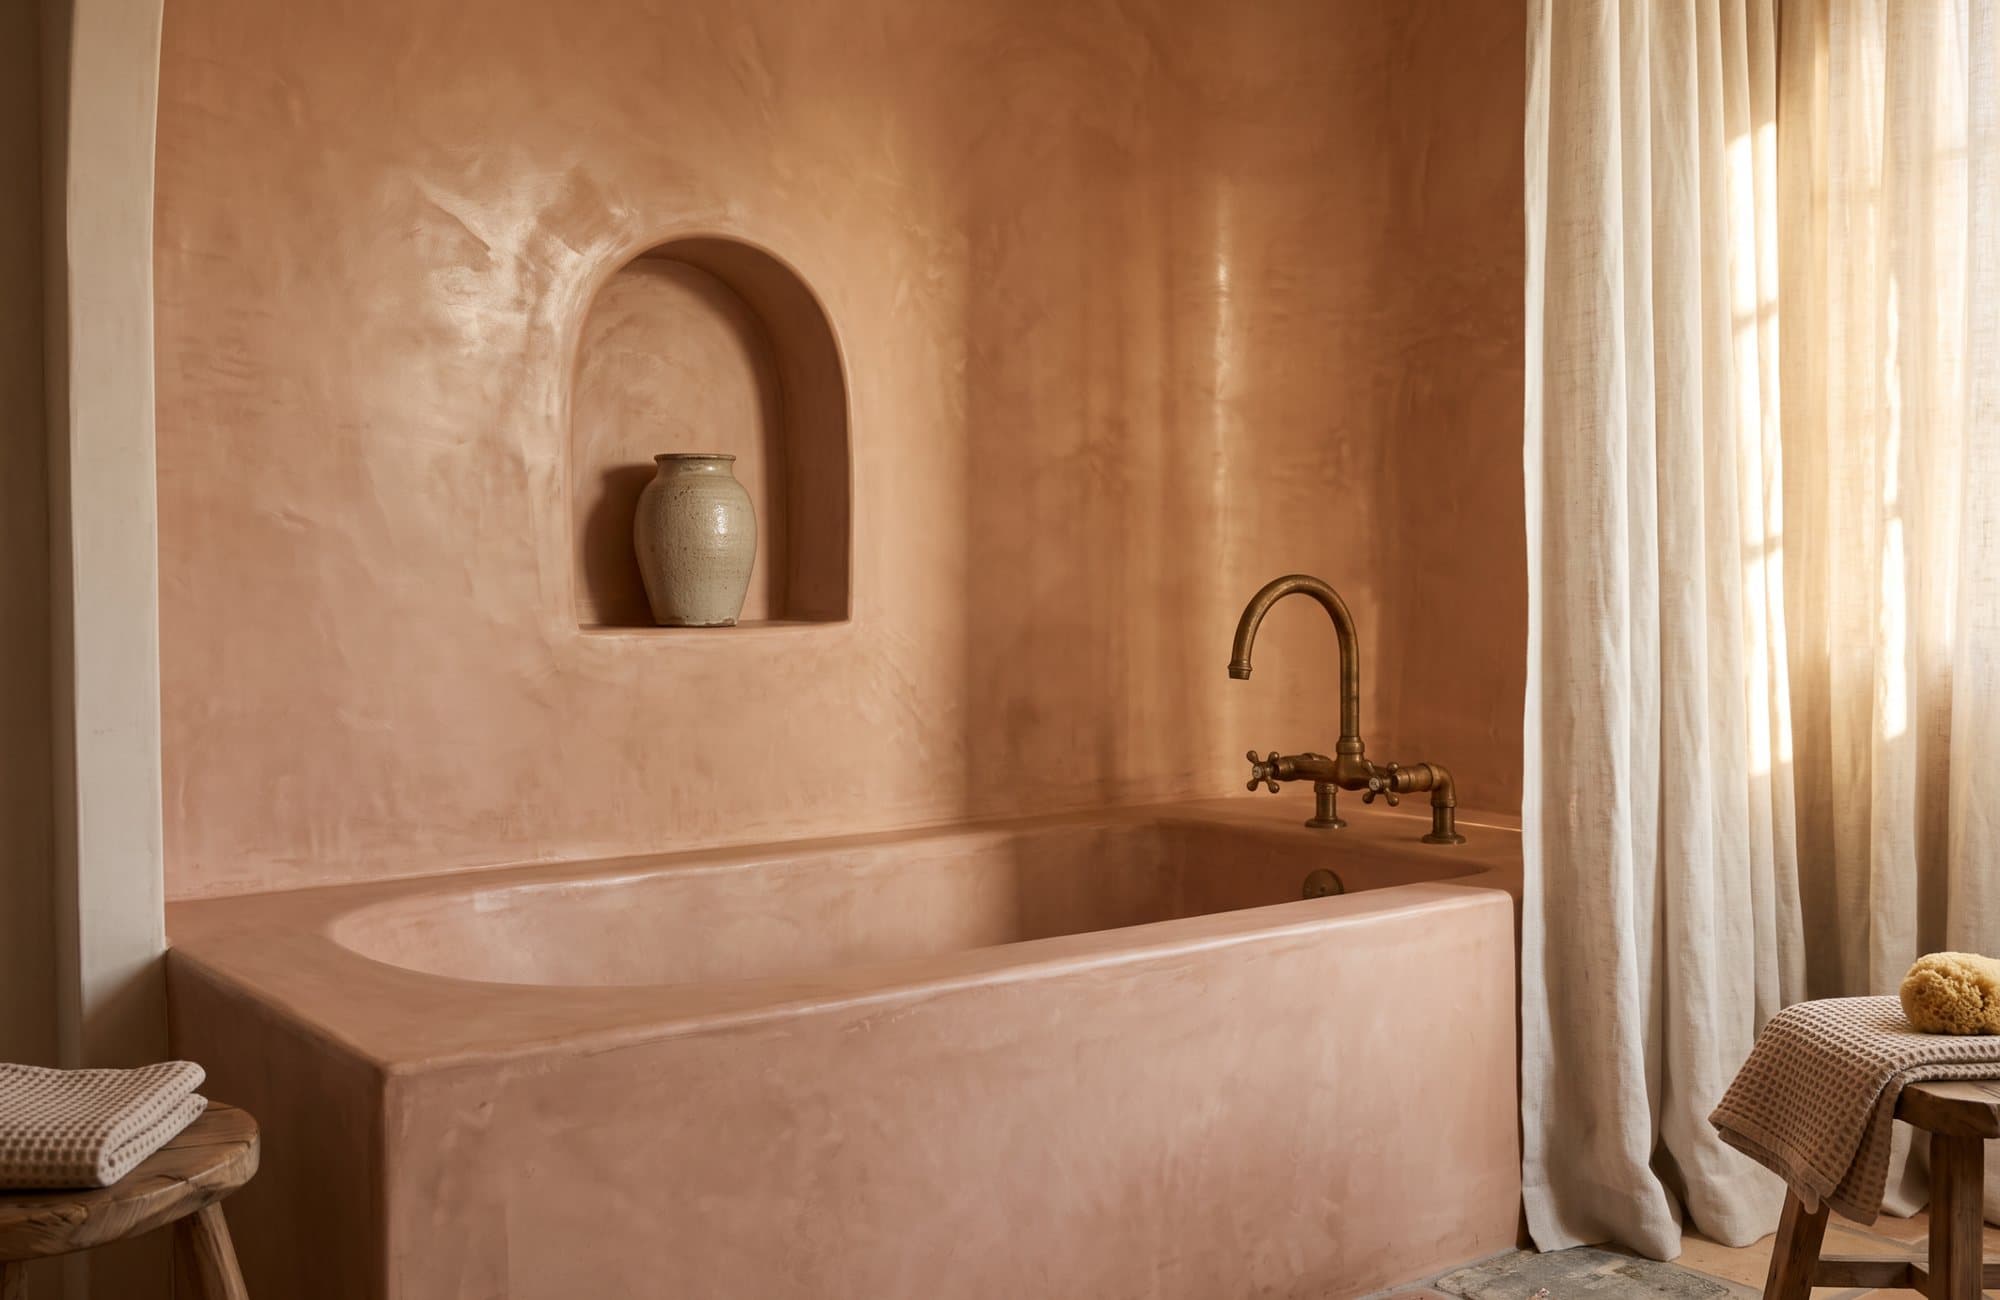
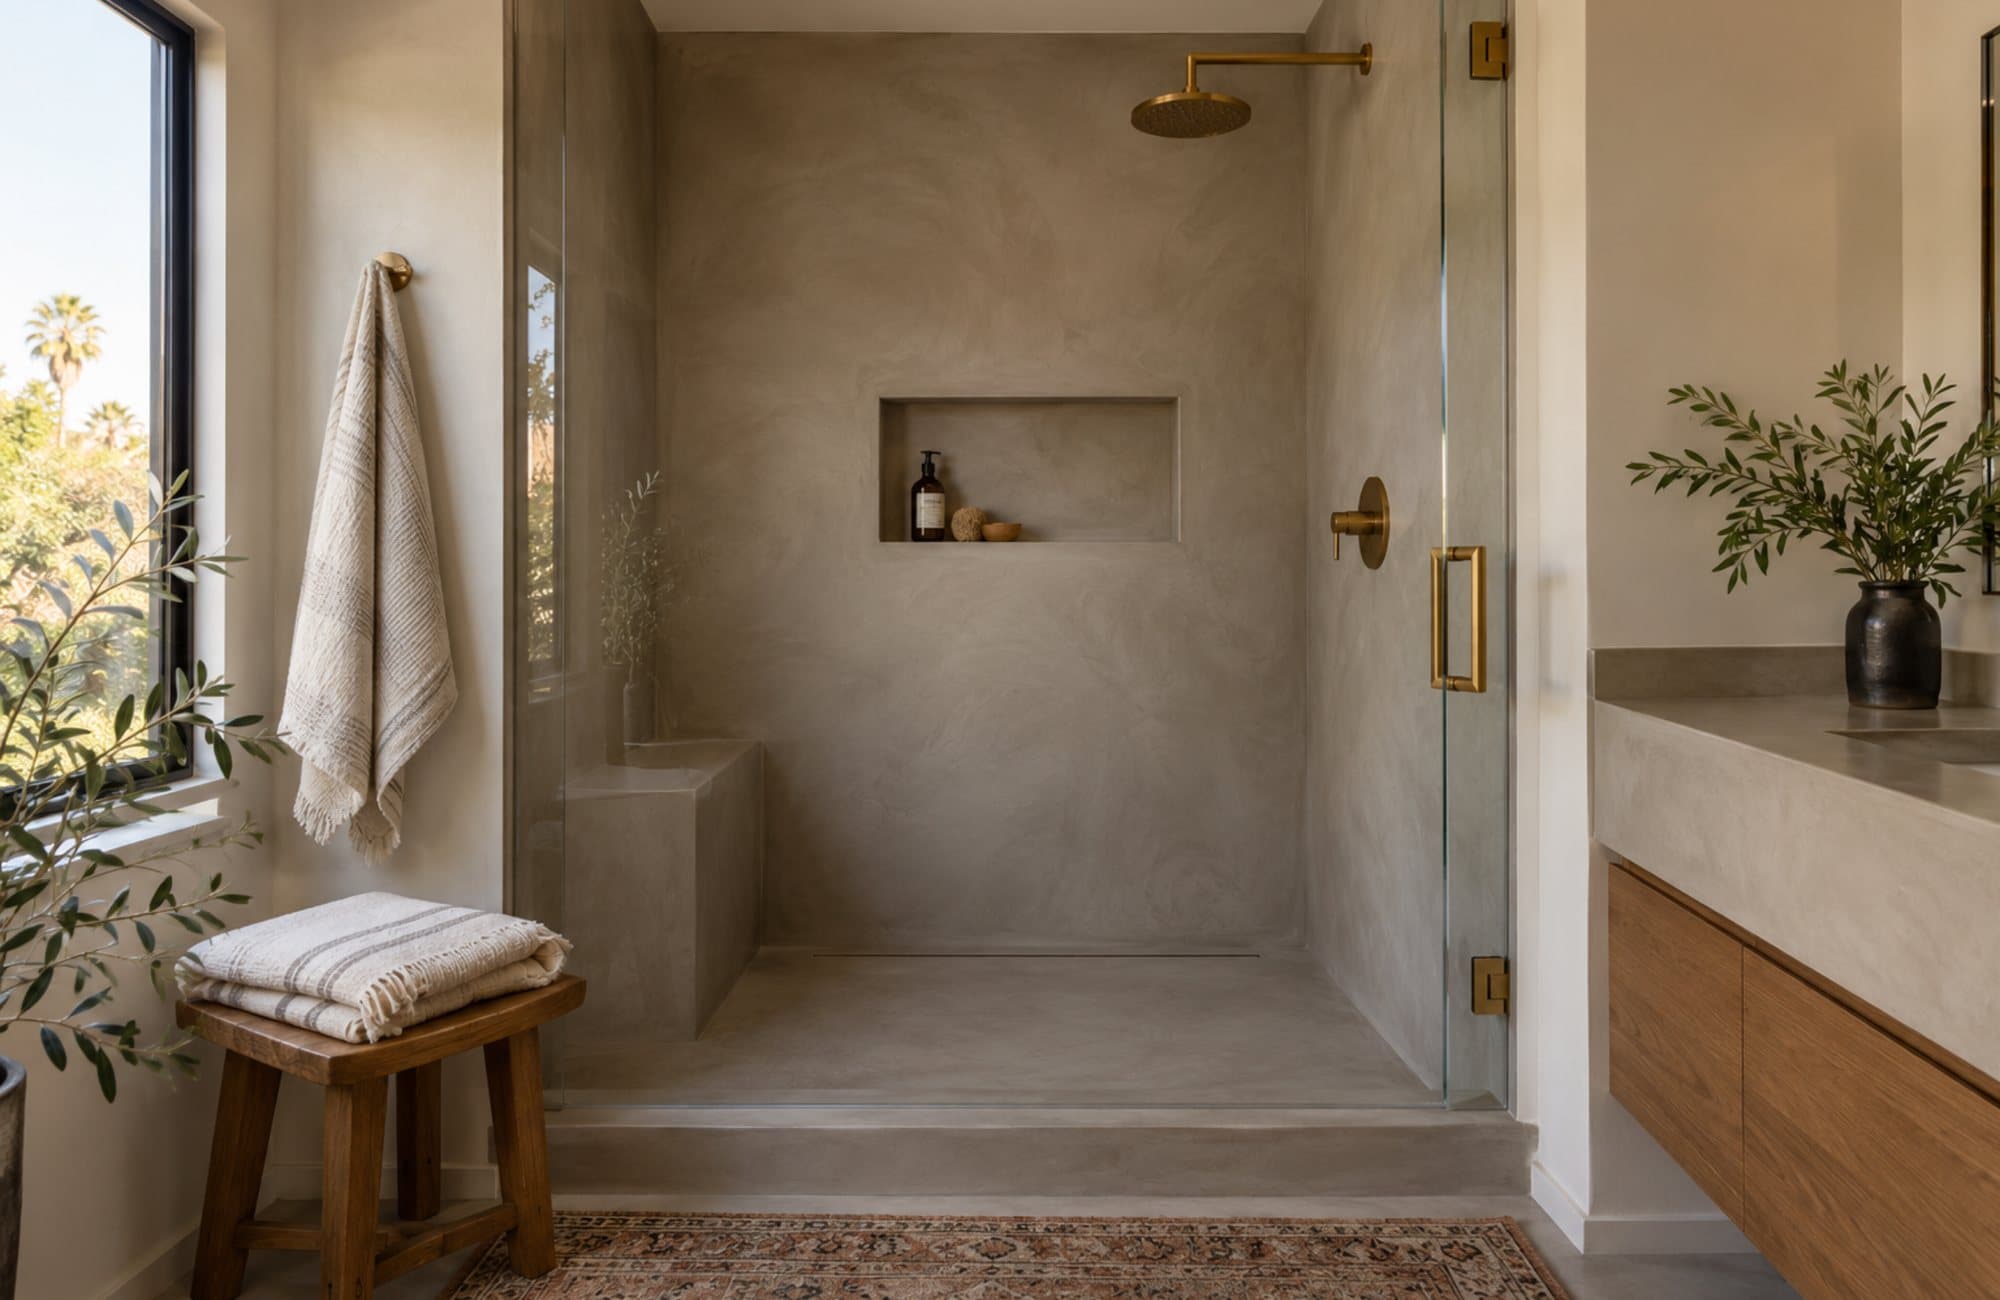
 Illustrative render
Concept study 01 of 05 · Bathroom
A tiled shower turned into one seamless mineral surface, without taking a single tile off the wall.
This is a concept, not a finished client project. The pictures are illustrative renders of work we can do; when we finish a job like it, its real photographs will be under Projects.
- The system
- Walls and niche. Concretta FS microcement, straight over the existing tile: grout lines filled, sanded, fibreglass mesh, two coats and a third for a seamless face
- Wall seal. PlasterGuard, three to four coats, the first diluted
- Floor and curb. Concretta FS, then PlasterGuard and two coats of PlasterSeal Plus with an anti-slip additive
- Joints. Clear silicone where wall meets floor and around fittings
- Time
- About four days of work, over eight to ten days on the calendar.
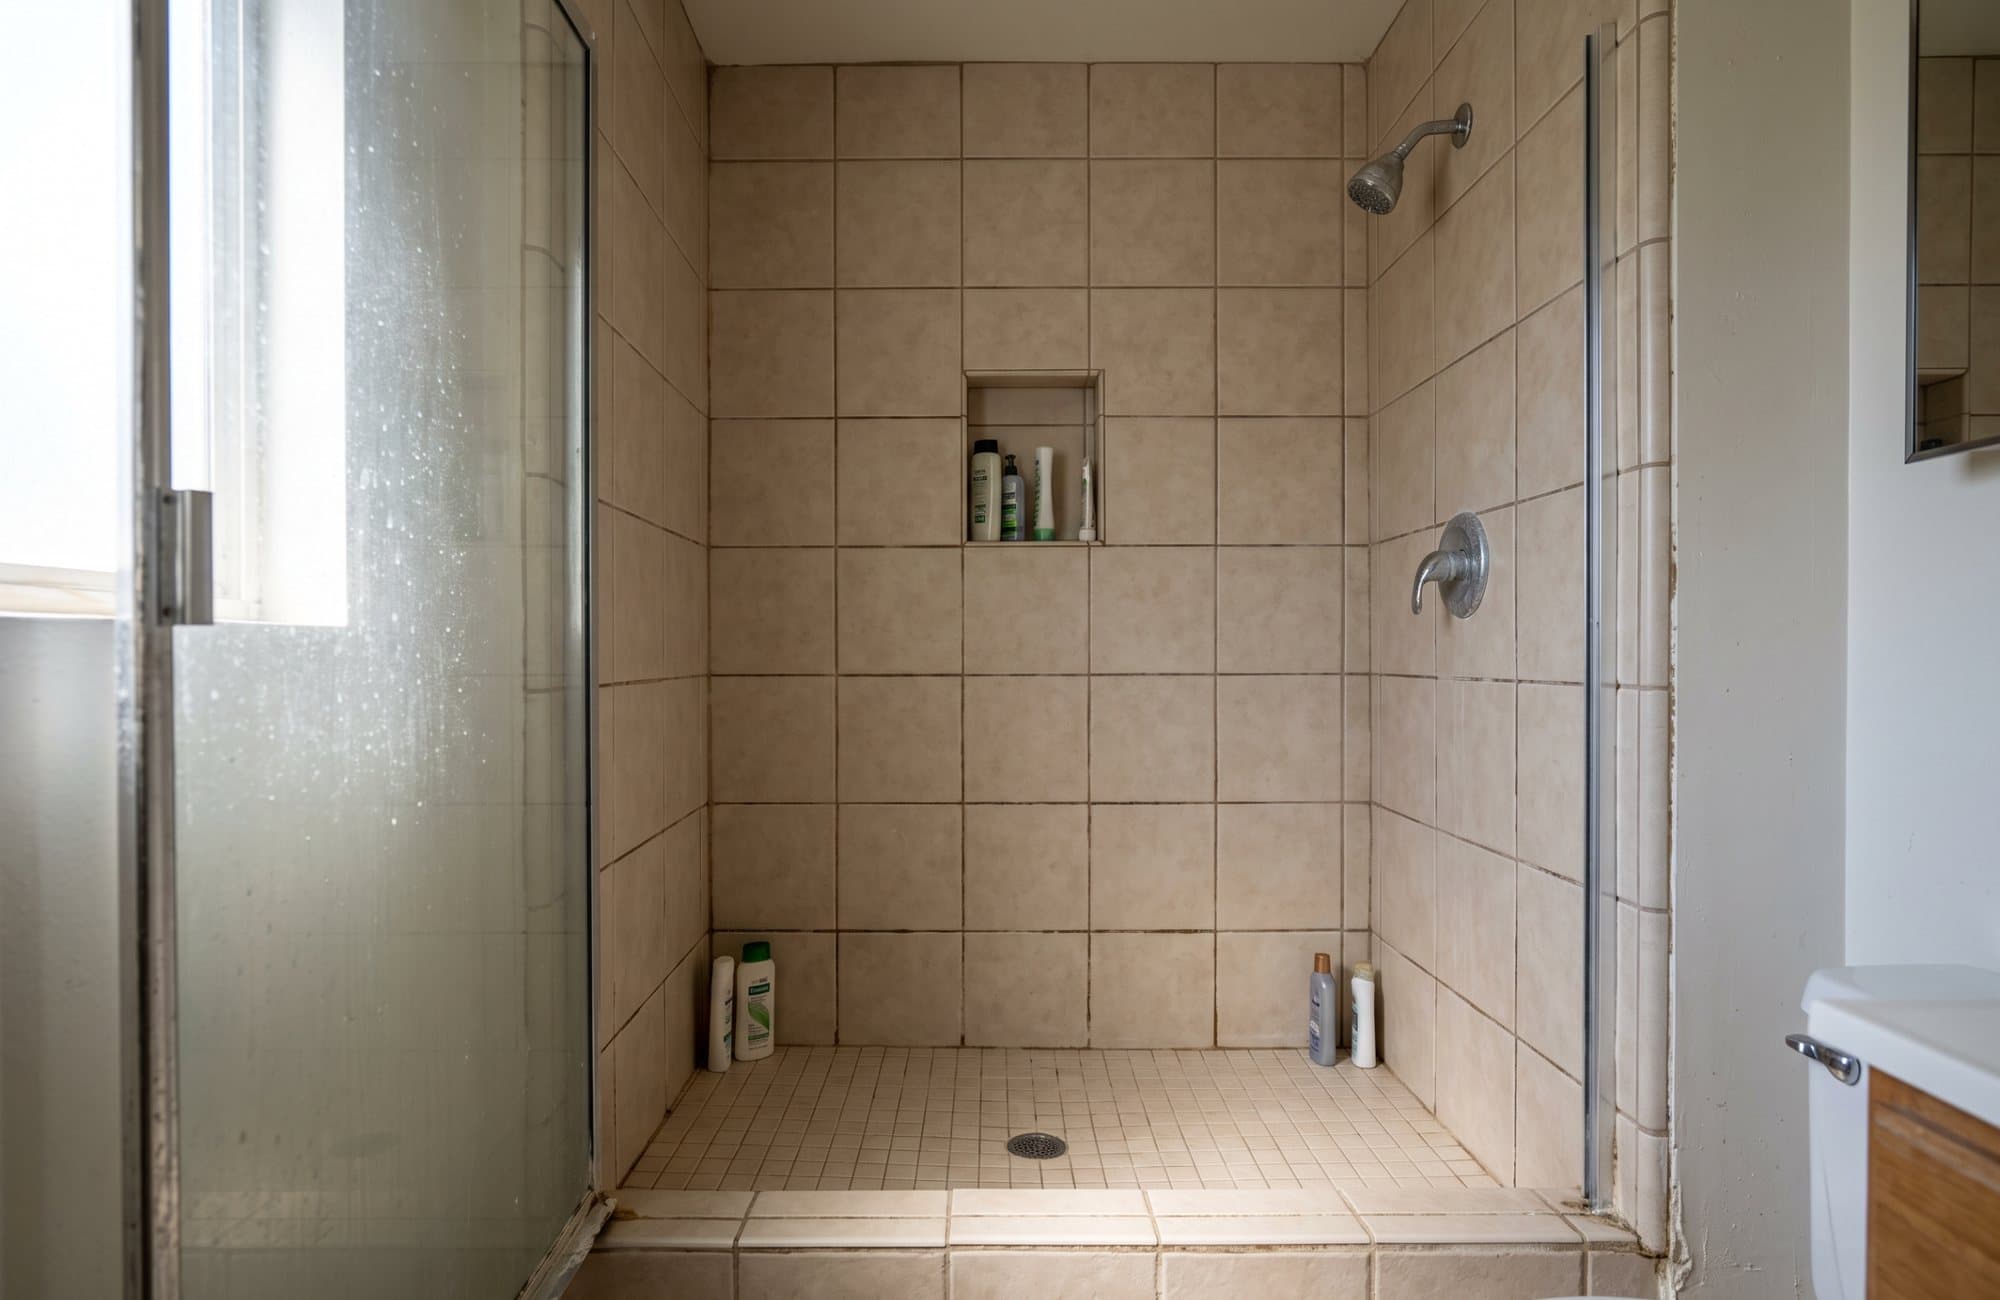
The walls, the floor, the curb and the niche of a dated tiled shower are finished in warm grey microcement laid straight over the tile. The grout lines disappear, and the shower reads as one continuous surface. No demolition, no dumpster, no weeks without a bathroom.
On site, in order
- 01Protect the room, clean and sand the tile, fill the grout lines, set the mesh
- 02First coat, then a day or two to dry over tile
- 03Second coat, sanded smooth; a third where the tile pattern still shows
- 04Three days' cure, then the sealers
- 05Silicone the joints a day after sealing
Worth knowing
- The tile has to be sound and the shower already waterproofed behind it. Microcement is the finish, not the waterproofing.
- We look at the shower first. Loose or cracked tile is fixed or replaced before anything goes over it.
- A shower floor in microcement suits a home bathroom, not a gym.
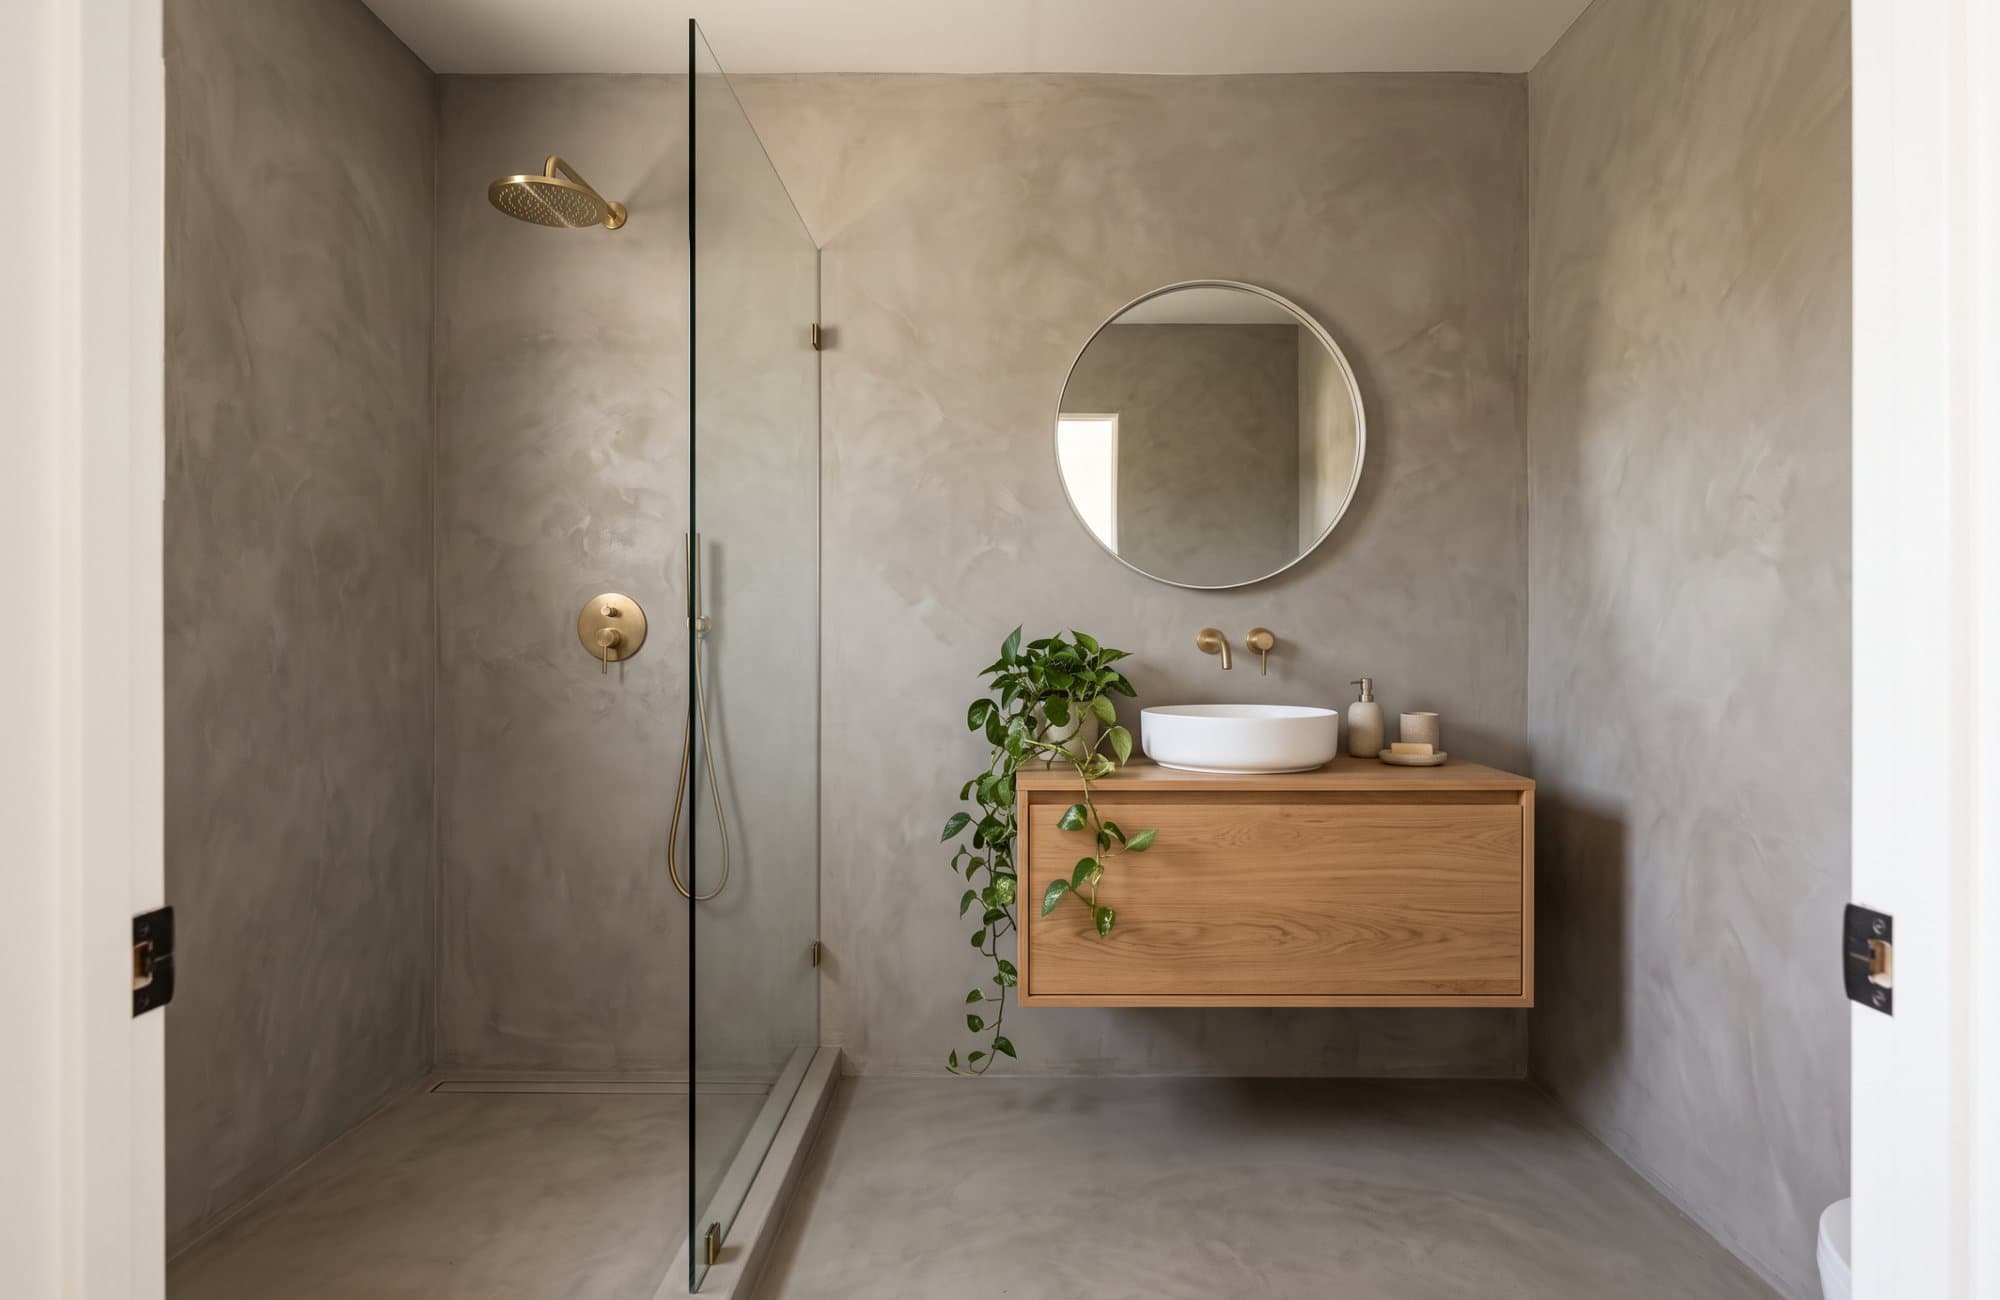
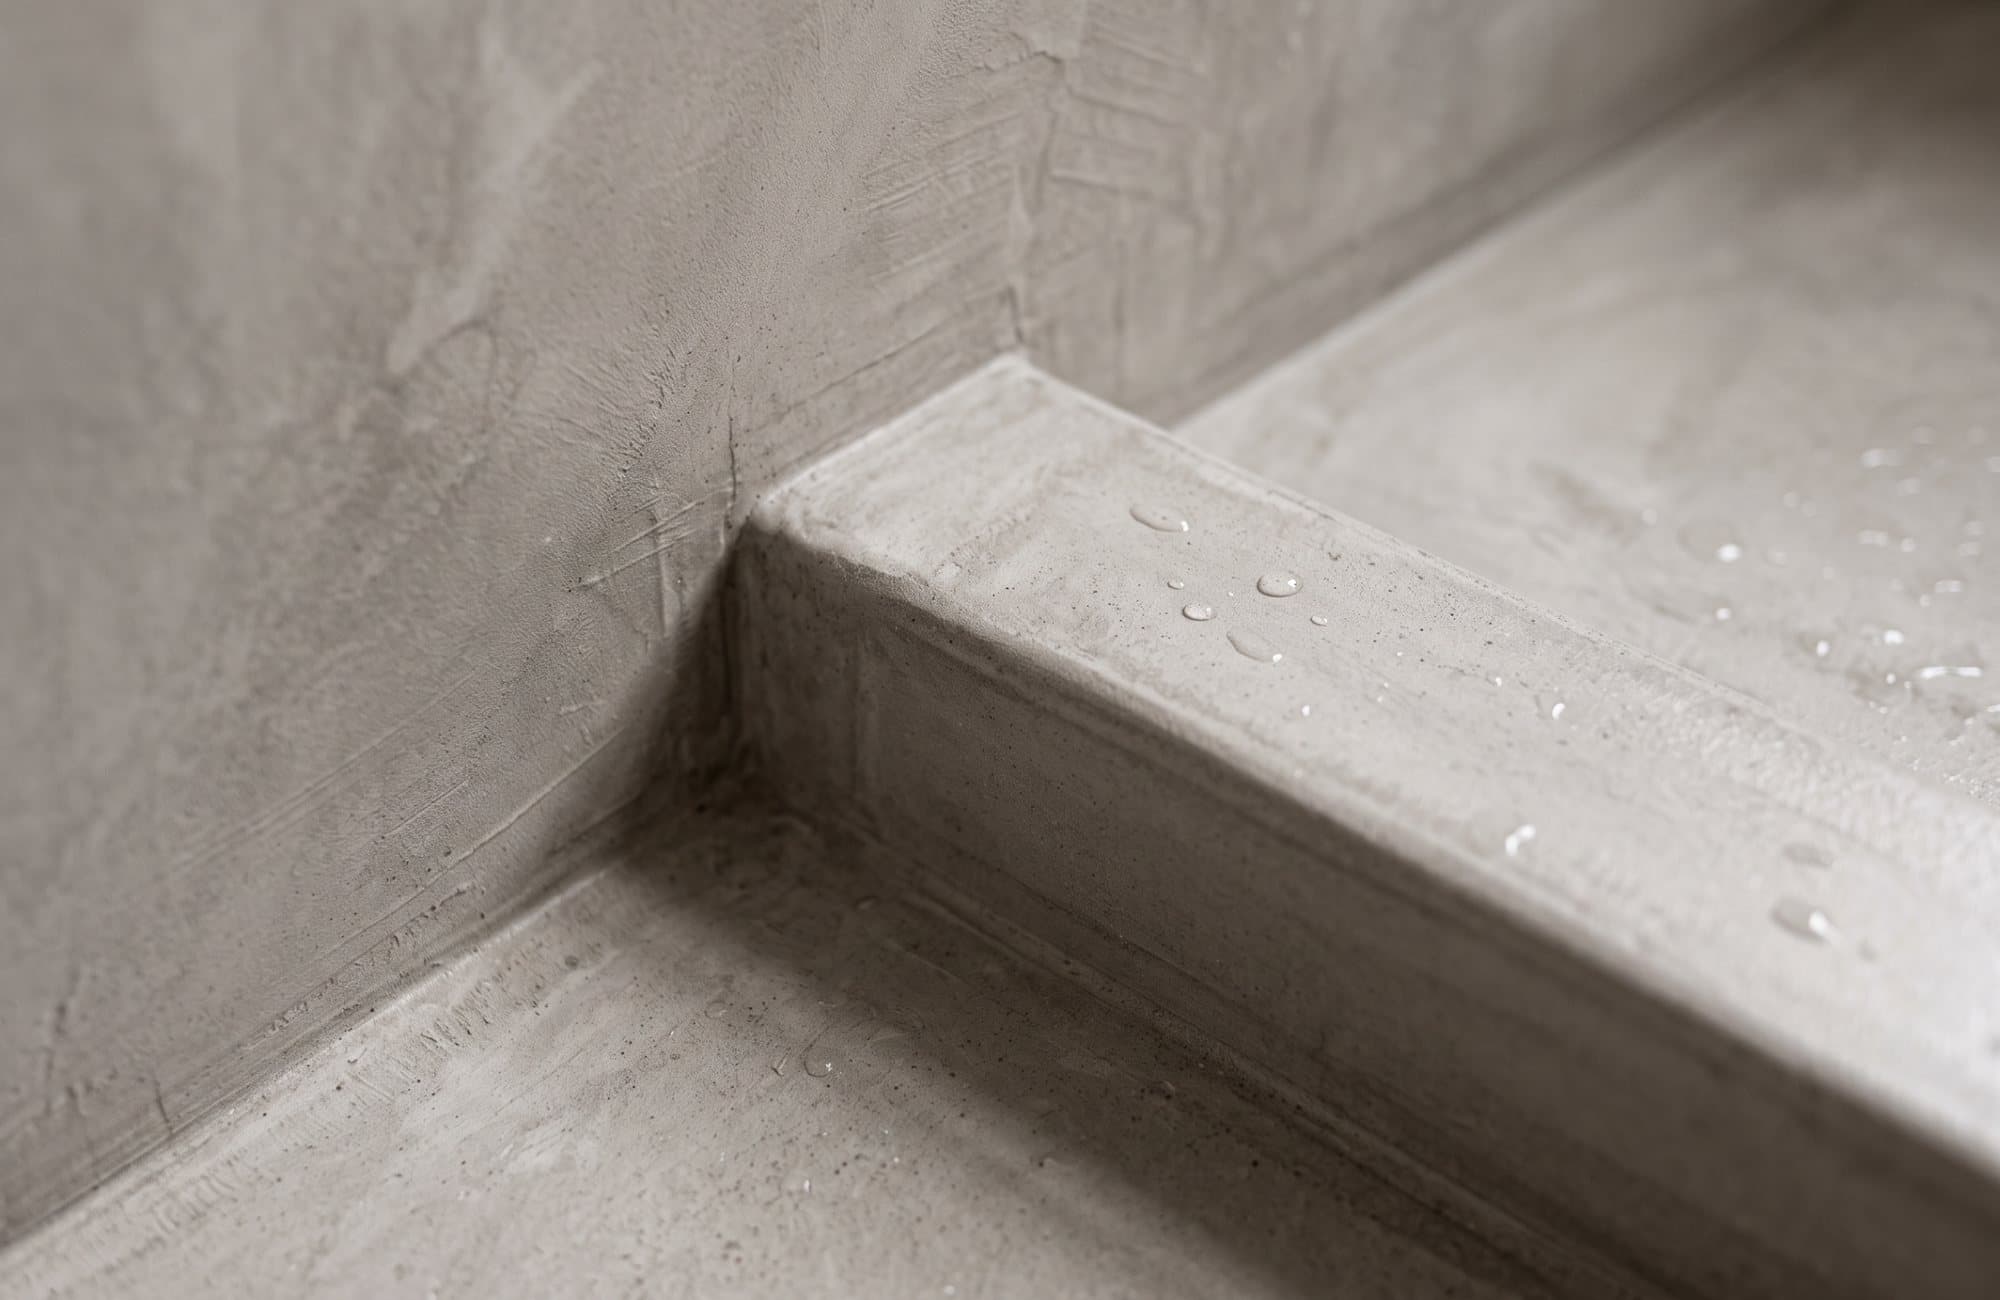
A typical starting point
The kind of room this begins with. A different room from the one above, rendered to show what we would be working over, not a before-and-after of one job.
Have a room like this?
Tell us what is there now. We will say honestly whether it can be finished over, or has to come out first.